Difference between revisions of "RDP ToPrefixArea"
From MidrangeWiki
Starbuck5250 (talk | contribs) |
Starbuck5250 (talk | contribs) |
||
| Line 22: | Line 22: | ||
* Click Finish. | * Click Finish. | ||
| − | |||
| − | |||
== Set the plug-in properties == | == Set the plug-in properties == | ||
| Line 42: | Line 40: | ||
* Click OK. | * Click OK. | ||
* Click on the Runtime tab | * Click on the Runtime tab | ||
| + | |||
| + | |||
| + | == To Be Continued == | ||
Revision as of 18:37, 16 August 2013
This page is intended to share the steps necessary to create a simple RDP 9.0 plug-in. This plug-in is a User Action - it can be assigned to a key combination and used within the editor to jump the cursor between the text area and the prefix area.
Contents
Switch to the Plug-in Development perspective
- Window > Open Perspective > Other... Plug-in Development
- Make sure you have the Package Explorer view available
Create a new plug-in project
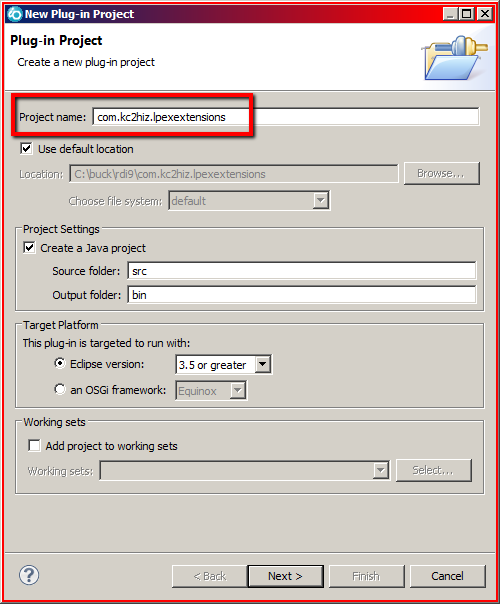
- File > New > Plug-in Project
- Fill in the name of the project. This will become the name of the generated .jar file. Case is very important!
- Click Next.
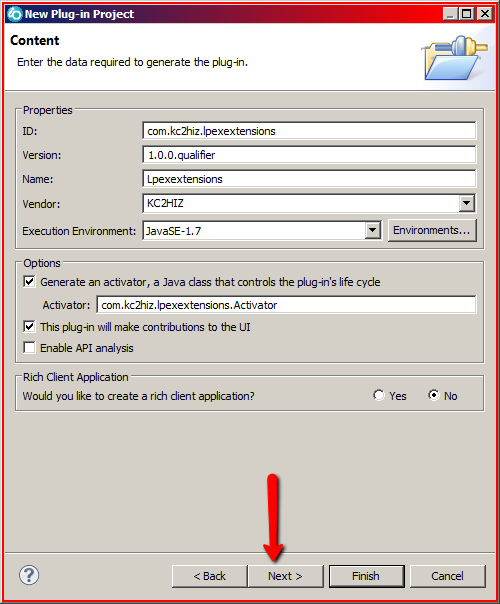
- The next panel describes some of the details of the project. The defaults look good.
- Click Next.
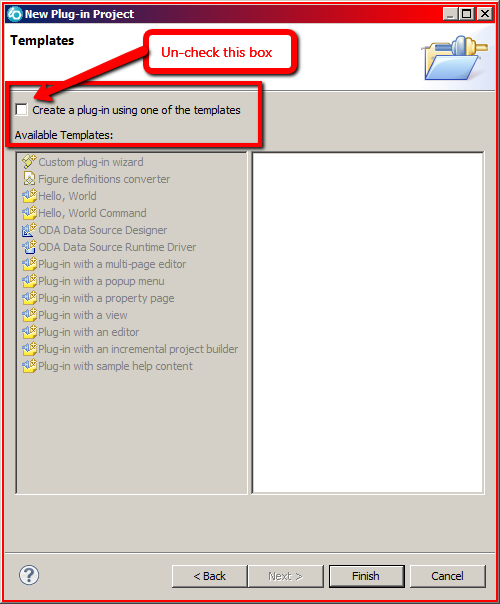
- The next panel is asking if you want to use a template. Don't use a template.
- Click Finish.
Set the plug-in properties
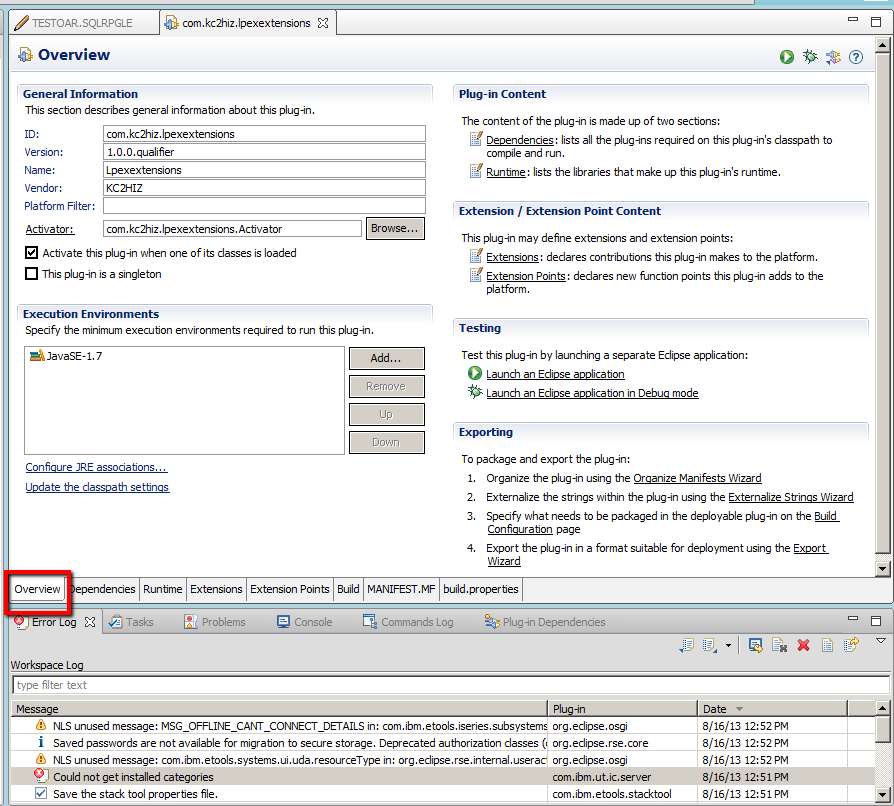
- Look at the editor view on the right. There is a new tab there with your project on it. Click on the Overview tab.
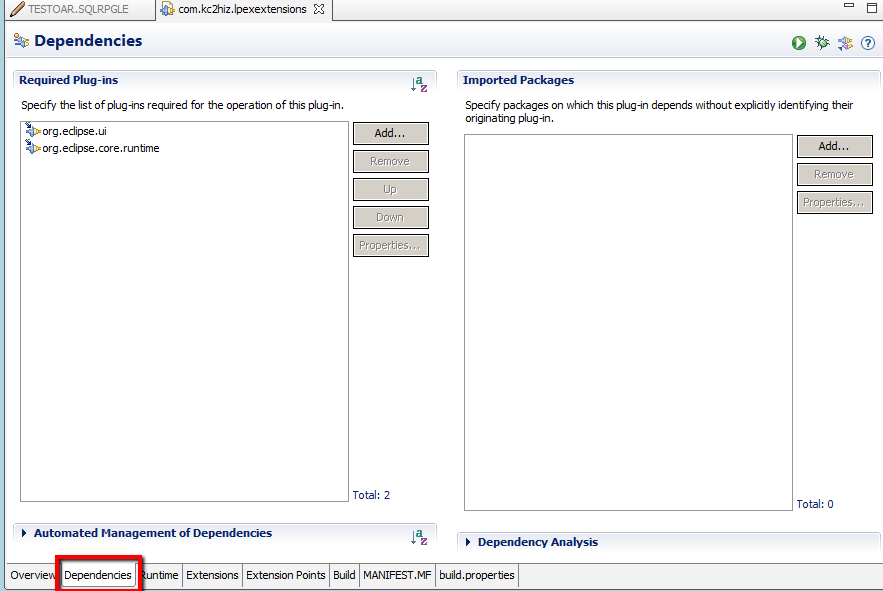
- The defaults look OK. Click on the Dependencies tab.
- Click the Add... button to add a required plug-in.
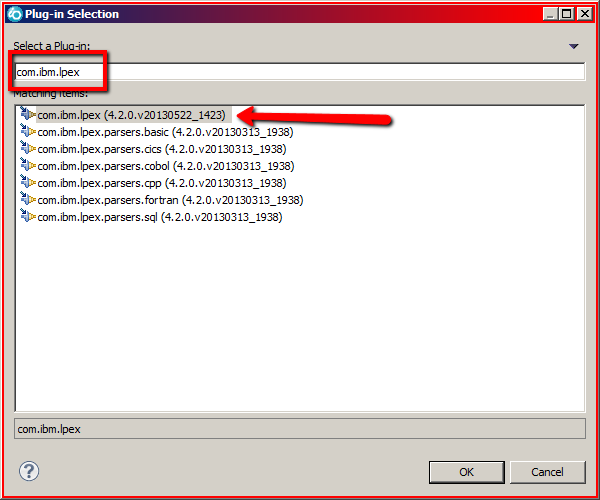
- Filter on com.ibm.lpex
- Click on com.ibm.lpex
- Click OK.
- Click on the Runtime tab
